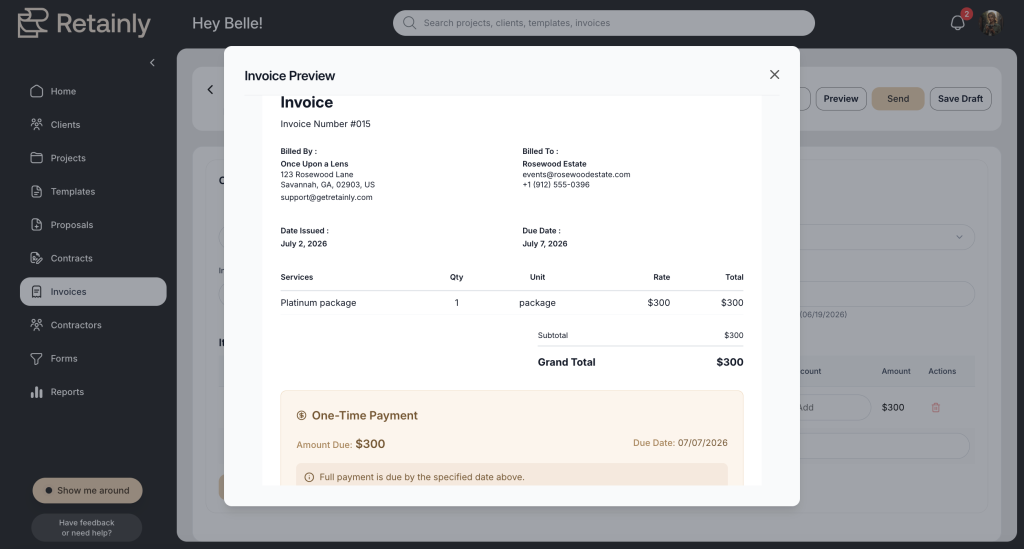

If you collect more than one payment from a client, this post is for you. Maybe you bill monthly for an ongoing service. Maybe you split a package into a deposit and two installments. Maybe you run a retainer or a subscription. All of these are doable, but they are not the same thing, and mixing them up is where the confusion (and the double-charging) usually starts.
So before any clicking happens, let’s get the vocab right.
Know what you’re actually setting up
These terms get used loosely, and that’s a problem:
- A one-time invoice is a single bill, paid once.
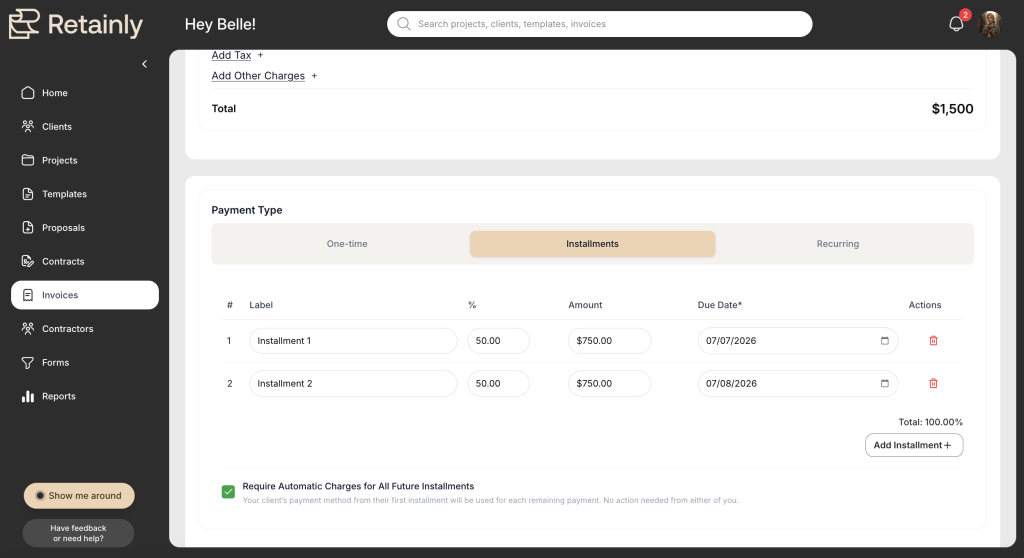
- One invoice with multiple scheduled installments is one agreement (say, a $3,000 package) broken into a few payments over time. It’s one total, divided.
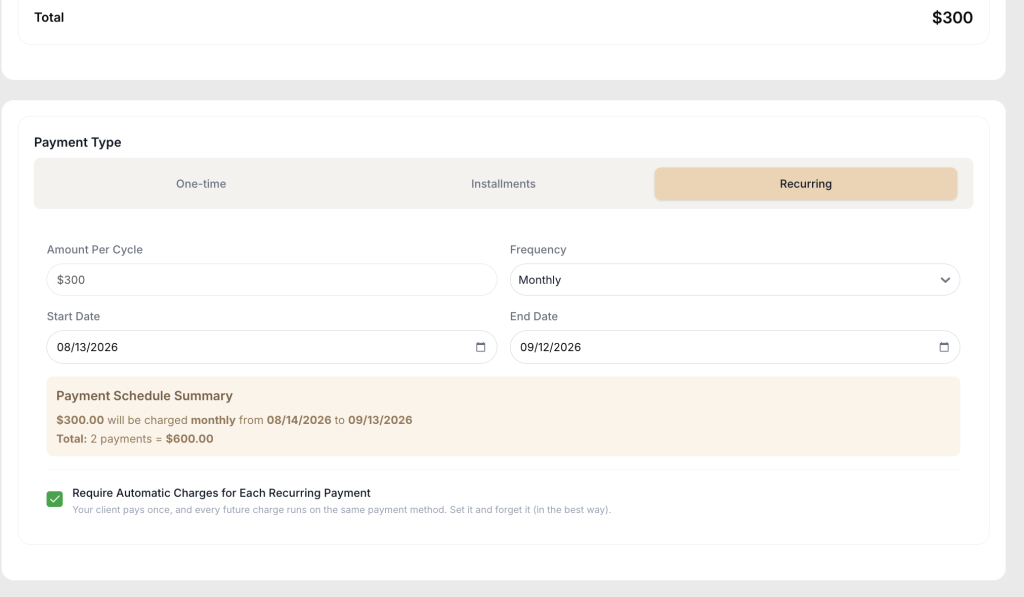
- Separate recurring invoices are distinct invoices that go out on a repeating schedule, like a fresh invoice every month.
- A recurring service arrangement is ongoing work that keeps billing until someone cancels it.
- Automatic payment, where available, means the client’s saved method is charged on schedule without them doing anything.
- A manually paid installment means the client pays each one themselves when it’s due.
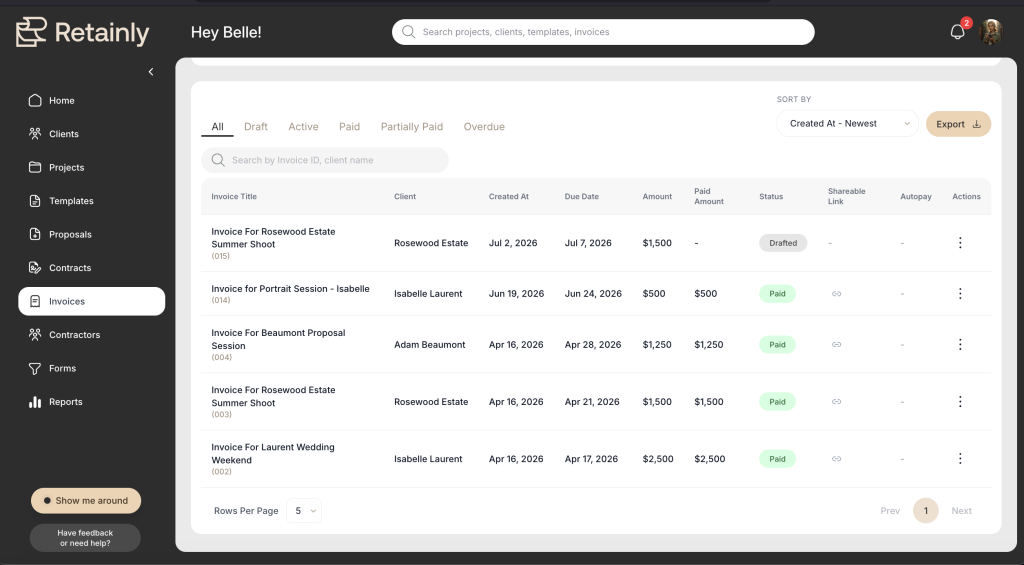
Use these deliberately. “Payment plan” and “recurring invoice” are not interchangeable. And typically, business owners use installments or separate invoices to manage payment plans, and recurring invoices for regular monthly subscriptions or services that repeat each month.
1. Choose your billing structure first
Decide the shape before you build. Do you need:
- A deposit and a final payment?
- Equal monthly installments?
- Custom installment amounts?
- Weekly or biweekly service, billed monthly?
- A fixed number of recurring invoices?
- Ongoing invoices with no end date until canceled?
- A one-time package simply paid in installments?
Naming the structure now means every later step has an obvious answer.
2. Gather your information
Have these in hand before you start:
- Total project or package amount
- Deposit or initial payment
- Number of remaining payments
- Payment amounts
- First due date
- Future due dates or frequency
- Final payment deadline
- Accepted payment methods
- Late-payment terms
- Whether automatic payment is authorized
- Whether taxes, discounts, or add-ons apply
3. Deposits and retainers
Have a deposit or retainer mentioned in your client agreement? Here’s what they often look like:
- A fixed deposit (a set dollar amount up front).
- A nonrefundable retainer, when your contract permits it. (Whether a retainer can be nonrefundable is a contract question, not just a software setting, so make sure your agreement backs it up.)
- A deposit followed by equal installments.
4. Recurring service examples
To make it concrete, here’s how different businesses might use recurring billing:
- Monthly consulting: one recurring invoice each month, no fixed end.
- Weekly training billed monthly: sessions happen weekly, but you bill once a month for the batch.
- Biweekly coaching billed monthly: same idea, every other week, billed monthly.
- Monthly social-media management: a steady monthly invoice.
- Ongoing bookkeeping: recurring until the client cancels.
- A six-month creative-service retainer: six recurring invoices, then it ends.
5. Create the invoice
The general flow:
- Select or create the client
- Select the correct project
- Open a fresh invoice
- Add your services or line items
- Confirm quantity, rate, discounts, and tax settings
- Add your payment terms and any client-facing notes.
6. Create the schedule
Now this is what we’ve been talking about:
- Select either the one-time, installment, or recurring option.
- For one-time payments, the due date at the top is what you’ll use for the deadline.
- For installments, enter the titles and amounts for each and their individual due dates.
- For recurring payments, choose the frequency: weekly, bi-weekly, or monthly; and then enter the end date.
7. What the client sees
Set expectations by knowing their view. Describe:
- The initial invoice email
- The total project value
- The amount currently due
- Upcoming installments and their due dates
- Available payment methods
- Whether future payments happen automatically (do you have auto-pay turned on?)
- Receipts and reminders
8. Editing the plan after it’s live
Things change. Be ready for situations where:
- The project total changes.
- A service or add-on is added.
- A due date needs to move.
- The client pays early.
- One installment gets paid manually.
- A payment fails.
- The client wants to switch payment methods.
- You need to stop future invoices or automatic payments.
The safest habit: any time you change a total or a service, go check the future installments before you assume they updated correctly.
9. Common mistakes
The usual culprits:
- Confusing recurring invoices with installment payments (they behave differently).
- Setting the wrong start date.
- Forgetting an end date on something that should end.
- Making the installment total not match the contract total.
- Assuming payments will auto-run without the client actually authorizing it.
- Changing an invoice without checking the future installments.
- Skipping cancellation terms in the contract.
10. Final review before you send
Run this quick check:
- Correct client attached
- Correct project selected
- Total matches the agreement
- Due dates are right
- Payment methods are set
- A clear client-facing message is included
- You’ve got your shareable link handy to resend if needed
Then send!
Hot tip: Build a test payment plan first, using your own email as the client, and look at the client-facing schedule before you ever send one to a paying client. Seeing the upcoming payments the way your client will is the fastest way to catch a wrong date or an off-by-a-penny total. Once it looks good, you’ll know your methodology is solid and ready to recreate for a client!